Mastering Agarose Gel Electrophoresis: A Comprehensive Guide To Separating Dna
To make agarose gel, start by dissolving agarose powder in a buffer solution. Heat the mixture until it boils and becomes transparent. Pour the hot agarose solution into a casting tray with a comb inserted to create wells. Allow the gel to cool and solidify. The agarose gel is now ready for use in electrophoresis, where it acts as a matrix to separate DNA fragments based on their size through an electrical field.
- Define agarose gel electrophoresis and explain its significance in molecular biology.
Unlocking the secrets of DNA, the blueprint of life, requires specialized techniques like agarose gel electrophoresis. This powerful method allows scientists to separate and analyze DNA molecules, paving the way for groundbreaking discoveries in molecular biology.
Agarose gel electrophoresis is an electrophoretic technique where a DNA sample is placed in a gel made of agarose, a natural polysaccharide. When an electric current is applied through the gel, the negatively charged DNA fragments move through the gel pores, with smaller fragments moving faster than larger ones. This separation enables researchers to determine the size and quantity of DNA fragments in a sample.
This versatile technique has revolutionized molecular biology by providing insights into various aspects of DNA, including genetic disorders, forensic analysis, and gene cloning. From identifying genetic mutations to analyzing gene expression, agarose gel electrophoresis remains an indispensable tool in the molecular biologist’s arsenal.
Components of Agarose Gel: Building Blocks of DNA Separation
In the realm of molecular biology, agarose gel electrophoresis emerges as an indispensable technique for unraveling the secrets hidden within DNA. This versatile tool grants scientists profound insights into the size, quantity, and integrity of DNA fragments. At the heart of this process lies the agarose gel, a translucent matrix meticulously engineered to facilitate the precise migration of DNA molecules.
Crucial to the gel’s performance is the agarose concentration. This natural polysaccharide forms a porous network that acts as a molecular sieve. Higher agarose concentrations yield denser gels with smaller pores, which can resolve smaller DNA fragments with greater accuracy. Conversely, lower concentrations provide more spacious pores, allowing larger fragments to navigate the gel more efficiently. The optimal concentration depends on the size range of the DNA fragments being analyzed.
The buffer solution, typically Tris-acetate-EDTA (TAE) or Tris-borate-EDTA (TBE), plays a pivotal role in maintaining a consistent pH and ionic strength during electrophoresis. These buffers regulate the electrical conductivity of the gel, influencing the migration rate of DNA molecules. Their composition must be carefully optimized to ensure optimal DNA resolution and prevent potential damage.
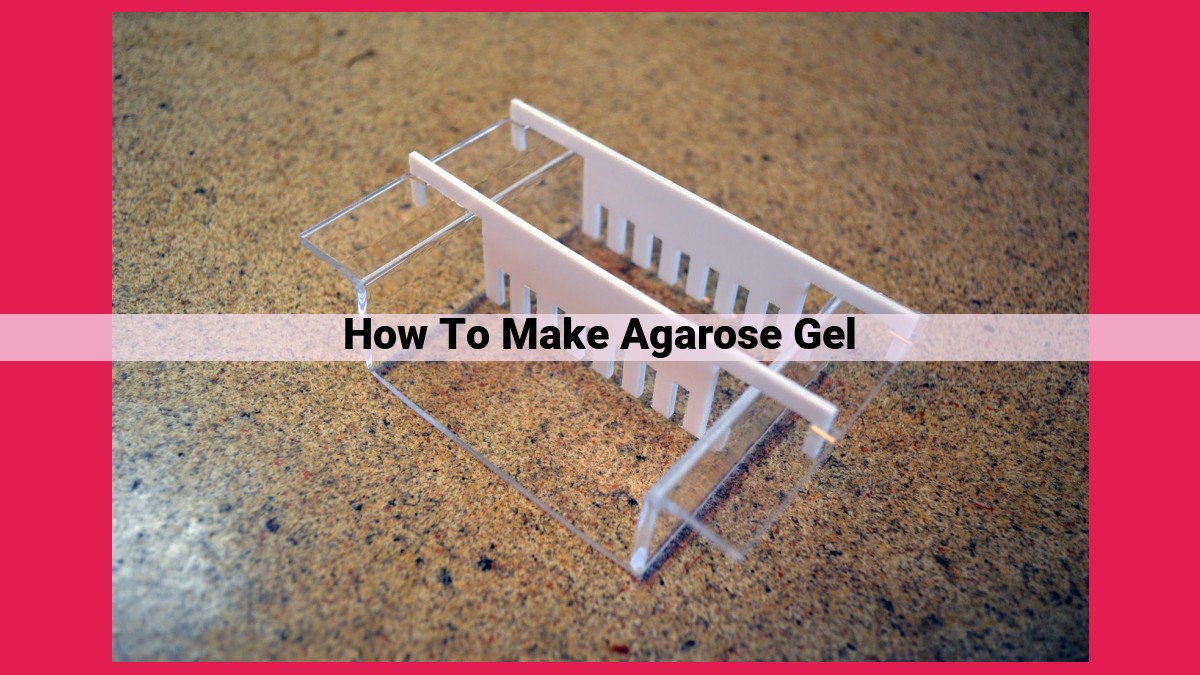
Encasing the agarose gel within a rigid structure is the casting tray. This rectangular mold provides the necessary support for the gel to solidify and maintain its shape. Casting trays vary in size and volume, catering to different experimental requirements.
Finally, the comb, an indispensable accessory, creates evenly spaced wells in the solidifying agarose. These wells serve as the designated loading points for DNA samples. The number and arrangement of wells depend on the experimental design and the number of samples being analyzed.
By thoughtfully combining these components, researchers can craft agarose gels tailored to their specific experimental needs. These meticulously constructed matrices form the foundation for precise and informative DNA analysis, paving the way for groundbreaking discoveries in the field of molecular biology.
Electrophoresis Apparatus: The Powerhouse of DNA Separation
In the realm of molecular biology, the electrophoresis apparatus reigns supreme as the driving force behind agarose gel electrophoresis. This sophisticated device transforms an inert gel into a dynamic arena where DNA fragments embark on a breathtaking dance of separation, revealing their hidden secrets.
The electrophoresis apparatus, aptly named, is an assembly of components that work in synergistic harmony. At its heart lies a power supply, the catalyst that ignites the electrical field responsible for DNA migration. This field serves as an unseen guide, propelling DNA molecules through the intricate pathways of the gel matrix.
The electrophoresis apparatus comprises a buffer chamber, a tray, and a casting device. The buffer chamber, filled with an electrolyte solution, serves as the liquid medium through which DNA fragments navigate. The gel tray, typically made of glass or plastic, provides a sturdy foundation for the agarose gel. The casting device, often a separate mold, shapes the gel into a uniform slab, creating a precise platform for electrophoresis.
As the voltage from the power supply surges through the buffer, it establishes an electrical field that permeates the gel. Within this charged environment, DNA fragments, negatively charged due to their phosphate backbone, are drawn towards the positive electrode. Their journey is influenced by a multitude of factors, including the agarose concentration, the electric field strength, and the DNA fragment size.
Smaller DNA fragments, with their agile and compact structure, encounter less resistance as they navigate the gel’s pores. They outpace their larger counterparts, who, burdened by their size, struggle against the gel’s intricate labyrinth. This differential mobility forms the basis for DNA separation, allowing researchers to decipher the genetic blueprints of life’s most fundamental molecules.
Understanding DNA Sample Preparation for Agarose Gel Electrophoresis
In the realm of molecular biology, Agarose Gel Electrophoresis plays a crucial role in analyzing DNA fragments. To obtain meaningful results, proper preparation of DNA samples is essential. Why, you may ask? Well, DNA samples are the heart of this technique, and the Loading Dye is the unsung hero that helps visualize these samples during electrophoresis.
DNA, a double-stranded molecule, is negatively charged. During electrophoresis, an electrical field is applied through the gel, causing these negatively charged DNA fragments to migrate towards the positive electrode. But how do we make these fragments visible? That’s where the Loading Dye steps in.
Loading Dye is a mixture of components that serve two key purposes. Density: Loading Dye increases the density of the DNA samples, allowing them to sink into the wells created in the agarose gel. This ensures that the DNA samples remain in place at the start of electrophoresis. Fluorescence: Loading Dye also contains a fluorescent dye, typically bromophenol blue, which fluoresces under ultraviolet (UV) light. This fluorescence makes the DNA fragments visible during electrophoresis, allowing us to track their movement through the gel.
Thorough mixing of the DNA samples with Loading Dye is crucial. Inadequate mixing can lead to uneven loading, affecting the accuracy of the results. Additionally, avoid overloading the wells with DNA samples, as this can obscure the bands and make it difficult to interpret the gel.
Here’s a Pro Tip: Keep your DNA samples on ice throughout the preparation process to minimize DNA degradation.
Gel Staining and Visualization
- Describe the process of gel staining and its purpose in enhancing DNA fragment visibility.
Gel Staining and Visualization: Making the Invisible Visible
As we sail through the vast ocean of molecular biology, we often desire to gaze upon the hidden treasures of DNA fragments. Agarose gel electrophoresis grants us this power, revealing the mysteries concealed within our genetic code. However, just as water obscures the intricate details of the ocean floor, DNA fragments remain invisible to our eyes. Enter gel staining, a technique that illuminates these fragments, transforming them into beacons of information.
Gel staining employs ethidium bromide (EtBr), a chemical that possesses a remarkable affinity for DNA. When EtBr encounters DNA, it intercalates between the base pairs, wedging itself into the double helix. EtBr molecules become sandwiched between the DNA strands, like guests at a molecular party. Under ultraviolet (UV) light, these EtBr molecules, once invisible, fluoresce brilliantly, casting an emerald glow upon the stained gel.
This fluorescence transforms the once-elusive DNA fragments into a visual masterpiece. Each band of DNA on the gel represents a different size fragment, with smaller fragments migrating farther due to their greater mobility. As we marvel at this illuminated display, we can determine the fragment sizes, painting a picture of the genetic information within our samples.
Gel staining is an indispensable tool in the molecular biology toolbox. It allows us to visualize DNA, analyze its structure, and unravel its secrets. Without this key step, our understanding of DNA would remain shrouded in darkness. So, as we navigate the complexities of molecular biology, let us always remember the transformative power of gel staining – the lighthouse that guides us towards the depths of genetic knowledge.
Interpretation of Agarose Gel
After electrophoresis, the DNA fragments are separated based on their size, with smaller fragments migrating faster than larger ones. To analyze the gel, place it on a UV transilluminator to visualize the DNA fragments. The DNA fragments will appear as bands under the UV light because they emit fluorescence after binding to the dye.
The size of the DNA fragments can be estimated by comparing their migration distance to a DNA ladder (a known set of DNA fragments of various sizes). The larger the DNA fragment, the shorter the distance it will migrate. By comparing the migration distance of the DNA fragments in the sample to the ladder, you can determine their approximate size.
The quantity of DNA fragments can be estimated by the intensity of the bands on the gel. A brighter band indicates a higher concentration of DNA fragments. This information can be helpful for quantifying DNA samples and assessing the efficiency of DNA isolation or amplification procedures.
Applications of Agarose Gel Electrophoresis
Agarose gel electrophoresis, a fundamental technique in molecular biology, has revolutionized our understanding of DNA. Its ability to separate DNA fragments based on size and charge has led to a wide range of applications in genetic research, diagnostics, and forensic science.
DNA Fingerprinting
Agarose gel electrophoresis plays a critical role in DNA fingerprinting, a technique used to identify individuals based on their unique genetic profile. By analyzing the banding patterns of DNA fragments separated by gel electrophoresis, it is possible to determine whether two samples belong to the same individual. This technique has become invaluable in forensic investigations, paternity testing, and establishing family relationships.
DNA Analysis
Agarose gel electrophoresis is essential for DNA analysis, including gene mapping, mutation detection, and DNA sequencing. By separating DNA fragments of different sizes, researchers can identify specific genes and mutations associated with various diseases. This information helps in diagnosing genetic disorders, developing targeted therapies, and understanding the genetic basis of traits and diseases.
Quality Control
Agarose gel electrophoresis is also used for quality control of DNA samples. It can assess the integrity and quantity of DNA extracted from cells or tissues. By checking the banding patterns, scientists can determine if the DNA is intact and suitable for further analysis or downstream applications.
Other Applications
Beyond these core applications, agarose gel electrophoresis has numerous other uses, such as:
- RNA separation: Analyzing RNA transcripts and their sizes.
- Protein analysis: Separating proteins based on size and charge, although other techniques like SDS-PAGE are more commonly used.
- Educational tool: Demonstrating the principles of DNA separation and electrophoresis in classrooms and laboratories.
Troubleshooting Agarose Gel Electrophoresis
Agarose gel electrophoresis is a powerful technique in molecular biology used to separate and analyze DNA fragments. However, certain issues can arise during the process, potentially leading to inaccurate results. Here are some common troubleshooting tips to help you overcome these challenges:
-
Blurry or smeared bands: This can occur due to several factors:
- Insufficient DNA fragmentation: Ensure your DNA samples are adequately fragmented before loading.
- Overloaded gel: Reduce the amount of DNA loaded to minimize band distortion.
- Incorrect electrophoresis conditions: Adjust the voltage or electrophoresis time to optimize separation.
-
Fuzzy bands: Fuzzy bands can indicate:
- Insufficient gel staining: Stain the gel for a longer duration or use a more concentrated staining solution.
- Overly dilute DNA sample: Increase the DNA concentration in the sample.
-
No bands: If you encounter a complete absence of bands:
- DNA degradation: Check for DNA degradation before electrophoresis.
- Insufficient sample loading: Ensure you have loaded enough DNA onto the gel.
- Electrical issues: Verify that the electrophoresis apparatus is functioning correctly.
-
Uneven migration of bands: Uneven band migration can be caused by:
- Faulty gel casting: Check for bubbles or uneven thickness in the gel.
- Improper electrophoresis setup: Ensure the electrodes are correctly aligned and submerged in the buffer.
-
Smiley face or frowny face gel: This distinct pattern indicates:
- Incorrect buffer concentration: Adjust the buffer concentration to the recommended levels.
- pH issues: Ensure the pH of the buffer is optimal for electrophoresis.
Remember, troubleshooting agarose gel electrophoresis requires patience and attention to detail. By carefully reviewing these troubleshooting steps, you can identify and rectify potential issues, ensuring accurate and reliable results in your molecular biology experiments.