Light Vs. Electron Microscopy: A Comprehensive Guide To Resolution, Preparation, And Imaging
- Type of Light
- Wavelength of Light
- Resolution and Magnification
- Preparation of Specimen
- Imaging Process
- Optical Microscopy vs. Electron Microscopy
- Conclusion
Light microscopes use visible light, while electron microscopes use electron beams. The shorter wavelength of electron beams allows for higher resolution than light microscopes. Electron microscopy requires specialized sample preparation, including the use of thin sections and heavy metal staining. Both techniques have advantages and limitations, and the choice of which to use depends on the research question and specimen characteristics.
Light Microscopes vs. Electron Microscopes: Unveiling the Invisible World
Type of Light
When it comes to microscopy, the type of light employed plays a pivotal role in determining the level of detail we can observe. Light microscopes harness the power of visible light, which falls within the electromagnetic spectrum our eyes can detect. They offer a convenient and relatively straightforward approach to observing biological specimens.
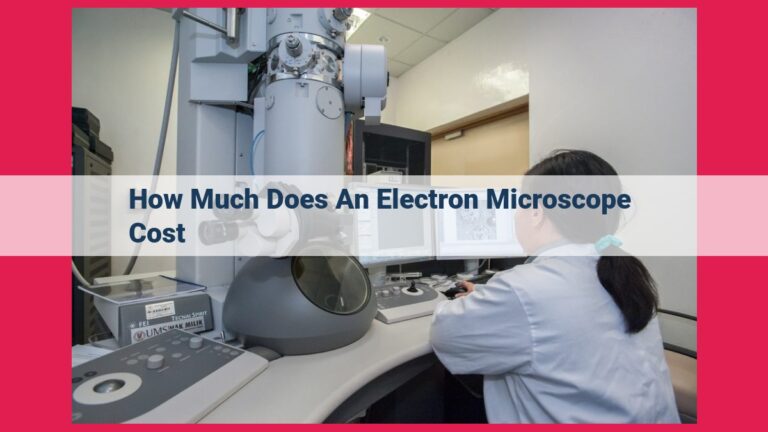
In contrast, electron microscopes utilize electron beams instead of light. Electrons possess a much shorter wavelength than visible light, allowing them to probe structures at a far smaller scale. This superior resolution makes electron microscopy an invaluable tool for investigating the intricate workings of cells and molecules.
Wavelength of Light
- Discuss the difference in wavelengths between visible light and electron beams and how it affects resolution.
Unveiling the Microscopic World: The Power of Wavelength in Microscopy
As we delve into the captivating realm of microscopy, understanding the role of wavelength becomes crucial. The wavelength of light, be it visible or electronic, significantly influences the clarity and resolution of microscopic images.
The Realm of Visible Light
When it comes to light microscopy, we harness the power of the visible light spectrum, which spans a wavelength range of 400 to 700 nanometers (nm). These wavelengths are longer than the microscopic structures we aim to visualize, limiting the resolution of our observations.
The Electron’s Superiority
In contrast, electron microscopy employs a beam of electrons, which possess much shorter wavelengths than visible light. This remarkable difference in wavelengths grants electron microscopes an exceptional advantage: far higher resolution. With wavelengths ranging from 0.003 to 0.2 nm, electron beams can resolve incredibly tiny details, allowing us to explore the intricate nanoscale world.
Resolution: Seeing the Unseen
Resolution, in microscopy, refers to the ability to distinguish between two closely spaced objects. The shorter the wavelength of light used, the better the resolution achieved. Thus, electron microscopes excel in resolving fine details, enabling us to study structures that would otherwise remain hidden.
Implications for Microscopy
The vast difference in wavelengths between visible light and electron beams has profound implications for microscopy. Light microscopes are suitable for examining larger structures, such as cells or tissues, while electron microscopes are essential for visualizing ultra-small biological components, such as viruses or protein molecules.
By understanding the crucial role of wavelength in microscopy, we can harness the appropriate technique based on our research objectives and the nature of the specimen under investigation. This empowers us to unravel the secrets of the microscopic domain, uncovering the intricacies of life at its most fundamental level.
Resolution and Magnification: Unraveling the Details
When it comes to microscopes, two key concepts that come into play are resolution and magnification. These terms are often used interchangeably, but they actually refer to different aspects of microscopic imaging.
Resolution refers to the ability of a microscope to distinguish between two closely spaced objects. It is measured in nanometers (nm) and determines the level of detail that can be seen in an image. The shorter the wavelength of light or electron beam used, the higher the resolution. This is why electron microscopes provide much higher resolution than light microscopes, as *electron beams have a much shorter wavelength than visible light**.
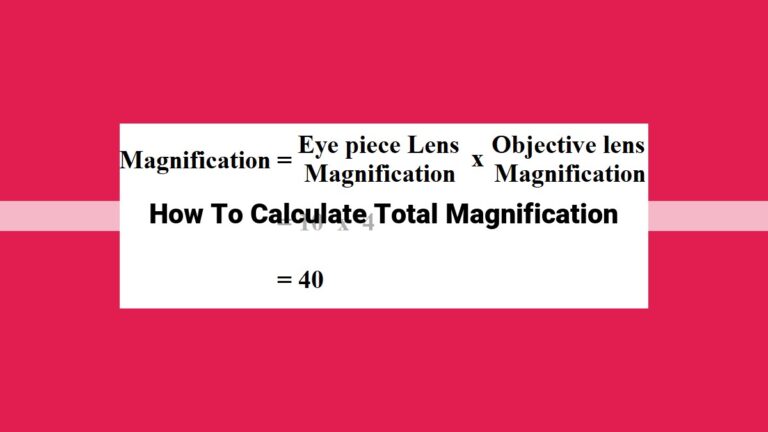
Magnification, on the other hand, is the ability to enlarge an image. It is measured in times (x) and simply makes an object appear larger. While higher magnification can make objects appear closer and more detailed, it does not actually improve resolution. In fact, high magnification without sufficient resolution can result in blurry or pixelated images.
The interplay between resolution and magnification is crucial in microscopy. For optimal imaging, it is important to choose the appropriate microscope technique based on the size and details of the specimen being examined. Electron microscopy is the preferred choice for high-resolution imaging of subcellular structures and nanoparticles, while light microscopy is more suitable for larger specimens and tissue samples.
By understanding the distinction between resolution and magnification, researchers can effectively select the right microscope and imaging technique to answer their specific research questions and unravel the secrets of the microscopic world.
Preparation of Specimen: Delving into the Art of Microscopy
In the realm of microscopy, the meticulous preparation of specimens holds paramount importance, as it sets the foundation for successful imaging and accurate scientific insights. Light microscopy and electron microscopy, despite their distinct imaging mechanisms, share the critical requirement of specimen preparation. However, the techniques employed differ significantly due to the contrasting nature of the imaging modalities.
Light Microscopy Specimen Preparation
For light microscopy, specimen preparation typically involves staining and mounting techniques to enhance contrast and visibility. Thin sections of the sample are created using microtomes, which enable precise slicing at the micrometer level. These sections are mounted on glass slides and stained with dyes that selectively bind to specific components of the specimen, allowing for their visualization under the microscope. Immersion oils are often employed to minimize light distortion and enhance image quality. Light microscopy offers a non-invasive approach, preserving the specimen’s integrity and enabling live cell imaging.
Electron Microscopy Specimen Preparation
Electron microscopy, on the other hand, requires more elaborate and specialized preparation techniques. Specimens must be fixed to preserve their structure and then dehydrated to remove water, which can interfere with electron beam interaction. Embedding the sample in a resin helps to support it during the preparation process. Ultrathin sections are then cut using diamond knives, with thicknesses ranging from 20 to 100 nanometers. Staining with heavy metals, such as lead citrate or uranyl acetate, enhances contrast for electron beam imaging. Electron microscopy offers higher resolution imaging but requires more complex sample preparation and may alter the specimen’s structure.
Additional Considerations
Specimen size and nature also influence the preparation methods used. For instance, biological specimens often require additional steps, such as fixation, dehydration, and embedding, to preserve their integrity and withstand the intense electron beam.
Special Considerations:
-
Cryofixation: This technique rapidly freezes the specimen to preserve its native state, minimizing artifacts and preserving cellular components.
-
Immunogold Labeling: Antibodies conjugated to gold particles are used to target and visualize specific proteins or molecules within the specimen.
-
Freeze Etching: This technique reveals the ultrastructure of frozen specimens by fracturing the sample and sublimating (vaporizing) the ice, exposing internal surfaces for imaging.
Specimen preparation is a crucial step in both light and electron microscopy, dictating the quality and interpretability of the resulting images. Understanding the different techniques used for each modality and tailoring the preparation to the specific research question ensures optimal outcomes. By carefully preparing the specimen, researchers can unlock the power of microscopy to delve into the intricacies of the microscopic world.
Imaging Process: Unraveling the Hidden World Through Light and Electrons
Light Microscopy: Illuminating the Microscopic Realm
Light microscopy, a technique as old as time itself, harnesses visible light to illuminate specimens and unveil their secrets. Light, a gentle force, gently interacts with samples, allowing for live cell imaging and fluorescence techniques that paint a vibrant tapestry of biological processes. As the light dances through the specimen, it captures the morphology, capturing the intricate dance of cells and organelles.
Electron Microscopy: Piercing the Molecular Veil
Electron microscopy, a more recent innovation, employs a barrage of electrons to penetrate the depths of matter. These energetic particles, collimated into a focused beam, unveil the ultrastructure of cells, revealing the nanoscopic machinery that governs life’s symphony. Unlike light, electrons interact with matter more strongly, providing unparalleled resolution. However, these interactions can also damage delicate samples, necessitating specialized techniques for sample preparation and imaging.
The Dance of Light and Electrons
In light microscopy, a thin slice of the specimen is illuminated with visible light. Lenses then collect the transmitted or reflected light, forming an image on a screen or detector. The resolution of light microscopy is limited by the wavelength of light, typically around 200 nanometers. This limitation can be overcome by using shorter wavelengths, such as ultraviolet light, but this can damage the specimen.
In electron microscopy, a beam of electrons is focused on the specimen. The electrons interact with the atoms in the specimen, scattering and deflecting. The scattered electrons are then collected and used to form an image. High-resolution electron microscopes can achieve resolutions of less than a nanometer, allowing scientists to see individual atoms and molecules.
Optical Microscopy vs. Electron Microscopy: Unveiling the Invisible
In the realm of scientific exploration, the world beyond our naked eye is vast and captivating. To unravel its mysteries, we rely on powerful tools like optical microscopes and electron microscopes. Each technique holds unique strengths and applications, enabling us to peer into the intricate details of our surroundings.
Optical Microscopy: A Journey Through Visible Light
Optical microscopes, the workhorses of biology, use visible light to illuminate specimens. Their lenses, carefully crafted and arranged, bend and focus light, creating magnified images of even the tiniest structures. The wavelength of visible light, however, limits the resolution of these microscopes to around 0.2 micrometers.
Electron Microscopy: Piercing the Barriers of Light
Electron microscopes, on the other hand, employ a radically different approach. They unleash a beam of electrons, infinitesimally smaller than light waves, onto the specimen. These electrons interact with the sample, creating images with unprecedented resolution, reaching down to the nanoscale.
A Tale of Two Techniques
Resolution and Magnification
The key difference between optical and electron microscopy lies in their resolution, the ability to distinguish fine details. Electron microscopes, with their ultra-short electron wavelengths, provide far superior resolution than optical microscopes. However, magnification alone does not enhance resolution.
Specimen Preparation
Sample preparation plays a crucial role in both techniques. For optical microscopy, specimens are often stained or fixed to enhance contrast. Electron microscopy, in contrast, requires more extensive preparation, including the use of specialized chemical fixatives and ultrathin sections.
Imaging Process
In optical microscopy, light passes through the specimen and interacts with a series of lenses to form an image. Electron microscopes, on the other hand, utilize a more complex process. Electrons interact with the sample, creating patterns that are subsequently translated into images using specialized detectors.
Summary Table: Optical vs. Electron Microscopy
| Feature | Optical Microscopy | Electron Microscopy |
|---|---|---|
| Type of light | Visible light | Electron beam |
| Resolution | 0.2 micrometers | Nanometer range |
| Sample preparation | Stains, fixation | Extensive preparation, ultra-thin sections |
| Imaging process | Light interacts with lenses | Electrons interact with sample, detected by detectors |
